
How to Flash Raspberry Pi OS Using Raspberry Pi Imager
Flashing Raspberry Pi OS is the first step before your Raspberry Pi can boot. In this guide, you’ll learn how to use Raspberry Pi Imager to write Raspberry Pi OS to a microSD card, set up WiFi and SSH before first boot, and avoid common beginner mistakes.
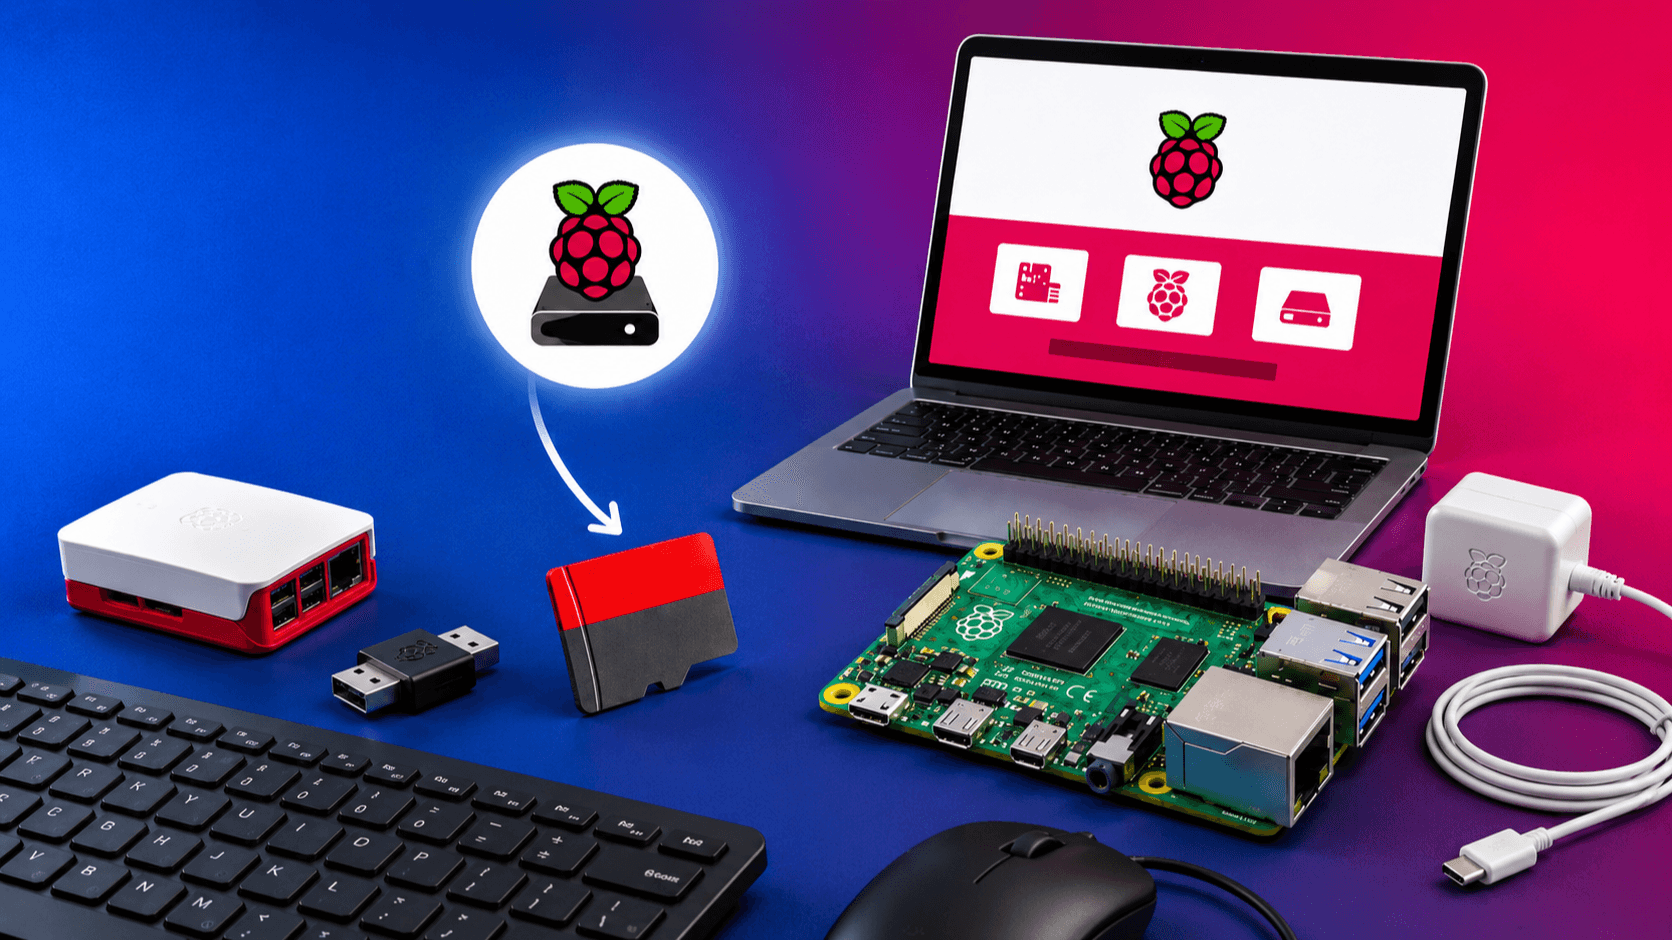
Raspberry Pi Imager is the official tool from the Raspberry Pi Foundation for writing operating system images to SD cards (or USB drives). It handles downloading, verifying, and writing the image in one workflow, and lets you pre-configure things like Wi-Fi, SSH, and the default user account before the Pi even boots.
This guide walks through the full process end to end.
What you'll need
- A Raspberry Pi (any model)
- A microSD card — 16 GB or larger is recommended, Class 10 / A1 or better for decent performance
- A microSD card reader (built-in or USB)
- A computer running Windows, macOS, or Linux
- A stable internet connection (the OS image is downloaded during flashing)
A microSD-to-SD adapter is included with most cards if your computer only has a full-size SD slot.
Step 1: Download Raspberry Pi Imager
Go to the official download page at https://www.raspberrypi.com/software/ and download the version for your operating system:
- Windows —
.exeinstaller - macOS —
.dmgfor Apple Silicon or Intel - Ubuntu / Debian Linux —
.debpackage, or install viasudo apt install rpi-imager
Always download from the official site rather than third-party mirrors, since Imager writes to disk and you want a trusted binary.
Step 2: Install and launch Imager
Run the installer and follow the prompts. On macOS you'll drag it into Applications; on Windows accept the standard installer steps; on Linux double-click the .deb or use sudo dpkg -i from a terminal.
Launch Raspberry Pi Imager once installed. You'll see a window with three main buttons: Choose Device, Choose OS, and Choose Storage.
Step 3: Insert the SD card
Plug the SD card into your computer's reader. Anything on the card will be erased, so back up any data first. If your operating system prompts you to "format" the card, cancel that dialog — Imager will handle formatting itself.
Step 4: Choose your device
Click Choose Device and pick the Raspberry Pi model you're flashing for (Pi 5, Pi 4, Pi Zero 2 W, etc.). This filters the OS list to compatible images. If you're not sure, pick "No filtering" and you'll see everything.
Step 5: Choose the operating system
Click Choose OS. The default and recommended option is Raspberry Pi OS (64-bit) — based on Debian, with the desktop environment included. Other options worth knowing:
- Raspberry Pi OS (other) — opens a submenu with the Lite (headless, no desktop) and Full (extra software bundled) variants, plus 32-bit versions for older Pi models like the original Pi Zero.
- Other general-purpose OS — Ubuntu, RISC OS, and others.
- Media player OS — LibreELEC, Kodi-based builds.
- Use custom — point Imager at an
.img,.img.xz, or.zipfile you've already downloaded.
For most first-time setups, pick Raspberry Pi OS (64-bit) unless your Pi is too old for it (anything Pi 3 or newer supports 64-bit).
Step 6: Choose the storage
Click Choose Storage and select your SD card from the list. Double-check the device name and size — picking the wrong drive here will overwrite it. Imager generally hides your computer's system drive, but external USB drives can show up alongside the SD card, so be deliberate.
Step 7: Configure OS customization (highly recommended)
After you've chosen device, OS, and storage, click Next. Imager will ask whether you want to apply OS customization settings. Choose Edit Settings.
This is the killer feature of Imager — you can pre-bake the following into the image so the Pi works on first boot with no monitor or keyboard:
General tab:
- Set hostname (e.g.,
raspberrypi.local) - Set username and password (the old
pi/raspberrydefault no longer exists; you must create your own) - Configure Wi-Fi (SSID, password, country code)
- Set locale, timezone, and keyboard layout
Services tab:
- Enable SSH — use either password authentication or paste in a public key for key-based login
Options tab:
- Disable telemetry, eject media when finished, play a sound when done
If you're going headless (no monitor/keyboard), set the username, password, Wi-Fi, and SSH here, otherwise you'll have to plug the Pi into a display to finish setup.
Click Save when done.
Step 8: Write the image
Back at the confirmation dialog, click Yes to apply OS customization, then Yes again to confirm you're okay with erasing the SD card. Imager will now:
- Download the OS image (if not already cached)
- Write it to the card
- Verify the write by reading it back
This typically takes 3–10 minutes depending on your internet speed and the card's write speed. Don't unplug the card during this process.
When it's finished, Imager shows a "Write Successful" message and safely ejects the card.
Step 9: Boot your Raspberry Pi
Remove the SD card from your computer and insert it into the Pi's slot (contacts facing the board). Connect power. On first boot, the Pi expands the filesystem and applies your customization settings — this takes a minute or two and may reboot once.
If you configured Wi-Fi and SSH, you can now connect from your computer:
ssh [email protected]
Replace yourusername with what you set, and raspberrypi.local with your hostname if you changed it. If .local resolution doesn't work on your network, find the Pi's IP from your router's admin page and use that instead.
If you didn't go headless, just plug in a monitor, keyboard, and mouse, and you'll land in the desktop.
Troubleshooting quick reference
- "Write failed" — try a different SD card or reader. Cheap or counterfeit cards are a common cause.
- Pi won't boot (no green light activity) — the card may be corrupted; re-flash. Also check power supply (use an official 5V/3A or higher PSU for Pi 4/5).
- Pi boots but Wi-Fi doesn't connect — wrong SSID, password, or country code in the customization settings. Re-flash with corrections.
- Can't SSH in — confirm SSH was enabled in customization, confirm the Pi is on the same network, try the IP address directly instead of the
.localhostname.
That's it — you now have a Raspberry Pi running a fresh OS, ready to use.